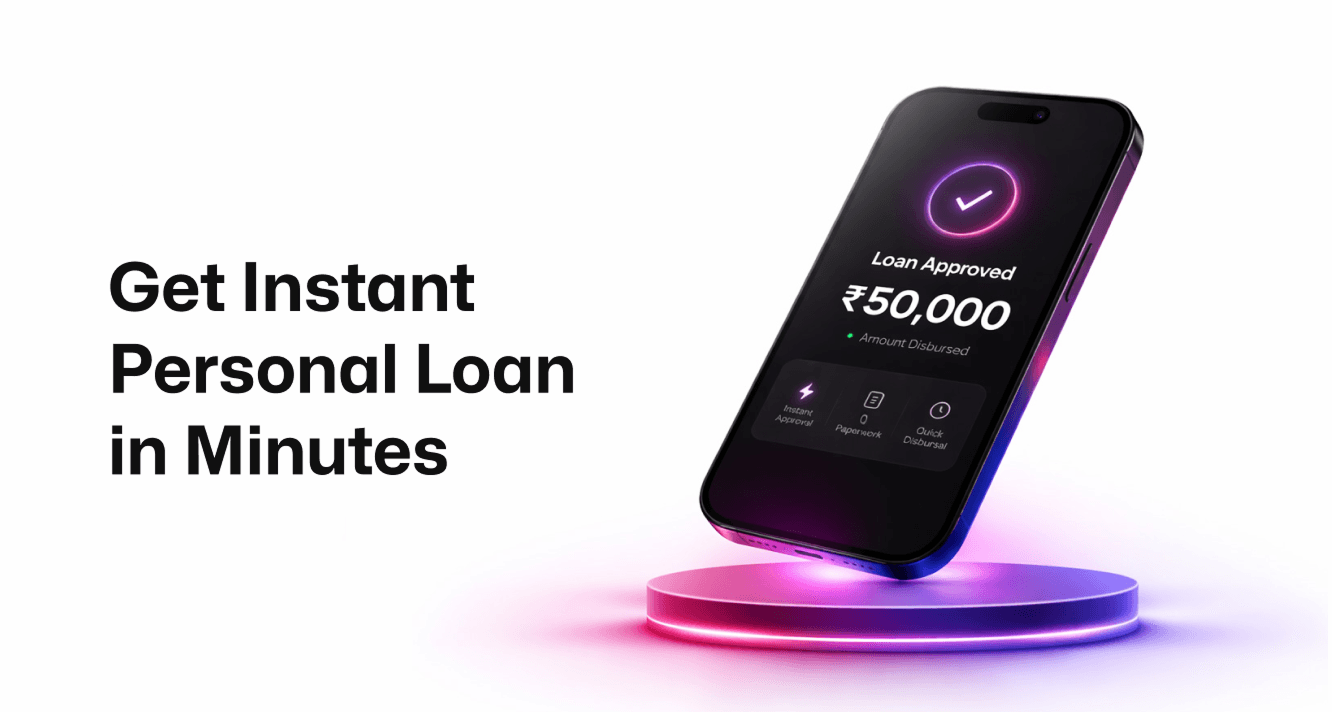


How to Pay IndusInd Bank CC Bill via Google Pay
Google Pay's bill payment feature — powered by the Bharat BillPay System — supports credit card bill payments for IndusInd Bank as a registered BBPS biller. This means IndusInd credit card holders can pay their monthly bill directly from Google Pay using any linked bank account's UPI handle, with the payment processed through the BBPS infrastructure and the funds routed to IndusInd Bank's collection account.


The process requires no prior registration beyond adding IndusInd Bank as a biller within Google Pay, and subsequent monthly payments are faster because the biller details are saved. Here is the complete walkthrough.
Why Google Pay works well for IndusInd credit card payments
Google Pay operates as a UPI payment application and a BBPS biller management platform simultaneously. For credit card bill payments, it uses the BBPS route — which means the payment is formally acknowledged by the national billing infrastructure, a BBPS reference number is generated as proof, and the payment is routed to IndusInd Bank's collection account through the BBPS network.
For IndusInd credit card holders, this route has several practical advantages. The payment can be made from any bank account linked to Google Pay — not just an IndusInd savings account. There is no platform fee for UPI-based BBPS credit card bill payments on Google Pay. The BBPS acknowledgement number generated is a verifiable proof of payment. And the entire process — from opening the app to payment confirmation — takes under two minutes once the biller is saved.
Step one: opening Google Pay and navigating to bill payment
Open the Google Pay app on your smartphone. On the Google Pay home screen, look for the Bill Payments, Bills, or Pay Bills section. This is typically accessible from the main home screen as a tile or card — labelled Bills or Pay Bills — or from the bottom navigation if your version of Google Pay uses tab-based navigation. Tap on it to open the bill payment section.
Google Pay's bill payment section organises billers by category. Scroll through the categories or use the search bar within the bill payment section to find the credit card category.
Step two: selecting IndusInd Bank as the biller
In the bill payment section, select Credit Card as the bill category. Google Pay displays a list of credit card issuers supported as BBPS billers. Scroll through the list or use the search function to find IndusInd Bank. IndusInd Bank credit cards are supported as a BBPS biller on Google Pay.
Tap on IndusInd Bank to open the biller addition screen.
Step three: entering your IndusInd credit card details
The biller addition screen asks you to enter your IndusInd Bank credit card number — the sixteen-digit number on the front of your card. Enter it carefully and double-check before proceeding. Google Pay then connects to IndusInd Bank's billing system through BBPS to fetch your current outstanding balance and account details.
This fetch typically takes a few seconds. Once complete, Google Pay displays the total amount due, the minimum amount due, and your payment due date, all pulled directly from IndusInd Bank's live card account data.
After this step, your IndusInd Bank credit card is saved as a biller in Google Pay — future payments only require selecting the saved biller and confirming the amount.
Step four: selecting the payment amount
With the outstanding balance displayed, choose your payment amount. Google Pay typically presents the total amount due and the minimum amount due as preset options, along with the ability to enter a custom amount.
Always select the total amount due when possible — this is the only payment amount that eliminates interest charges and preserves the interest-free grace period on future purchases. If you enter a custom amount, ensure it covers the minimum amount due at a minimum to avoid a late payment fee. Any amount below the minimum amount due will result in a missed payment from the card issuer's perspective.
Step five: selecting the payment source and completing the transaction
After selecting the payment amount, Google Pay asks you to select the bank account from which the payment will be funded — this is your UPI-linked bank account. If you have multiple bank accounts linked to Google Pay, select the one with sufficient balance. IndusInd Bank credit card holders who also maintain an IndusInd Bank savings account can select that account here for a same-bank routing advantage, though any linked bank account works.
Review the payment summary — IndusInd Bank as the biller, last four digits of the credit card, payment amount, and the source bank account. Tap Proceed or Pay and authenticate using your UPI PIN. The payment is processed immediately upon PIN authentication.
Google Pay displays a payment success screen showing the BBPS acknowledgement number and the transaction amount. This screen is your proof of payment — screenshot it or note the BBPS reference number. Google Pay also sends a notification confirming the transaction, and most users receive an SMS debit alert from their bank account simultaneously.
How long does the Google Pay payment take to reflect on the IndusInd credit card?
IndusInd Bank credit card payments made through Google Pay via BBPS typically reflect on the card account within one to two working days. For payments made during active banking hours on working days — broadly nine in the morning to six in the evening — the payment may reflect at the faster end of this range, sometimes within a few hours. Payments initiated on weekends or late at night may take up to two working days.
If the payment has not reflected after two working days, use the BBPS acknowledgement number from the Google Pay confirmation to contact IndusInd Bank's credit card customer care. The BBPS reference traces the payment through the network and allows the bank to manually post it if it was received but not auto-applied.
Saving the biller for faster future payments
Once you have added IndusInd Bank as a saved biller in Google Pay, subsequent monthly payments take significantly less time. The biller appears in your saved billers list in the bill payment section. Tapping on it fetches the current outstanding balance immediately and allows you to proceed directly to the amount selection and payment step — eliminating the biller search and card number entry steps.
For a quick monthly payment routine: open Google Pay, go to Bills, select IndusInd Bank from saved billers, confirm the amount, authenticate, done. The entire interaction takes well under a minute for a returning user with a saved biller.
Security of Google Pay BBPS credit card payments
Google Pay's bill payment infrastructure operates through UPI and BBPS — two regulated national payment systems that use multi-layer security including bank-side authentication and encrypted transaction data. The UPI PIN entered during payment is authenticated directly by the National Payments Corporation of India's UPI infrastructure and the user's bank — Google does not store or have access to the UPI PIN. Each transaction generates a unique BBPS acknowledgement that is traceable and verifiable.
Never share your UPI PIN with anyone. Google Pay will never ask for your UPI PIN through a call, message, or notification — the PIN is only entered within the Google Pay app at the payment authentication step.
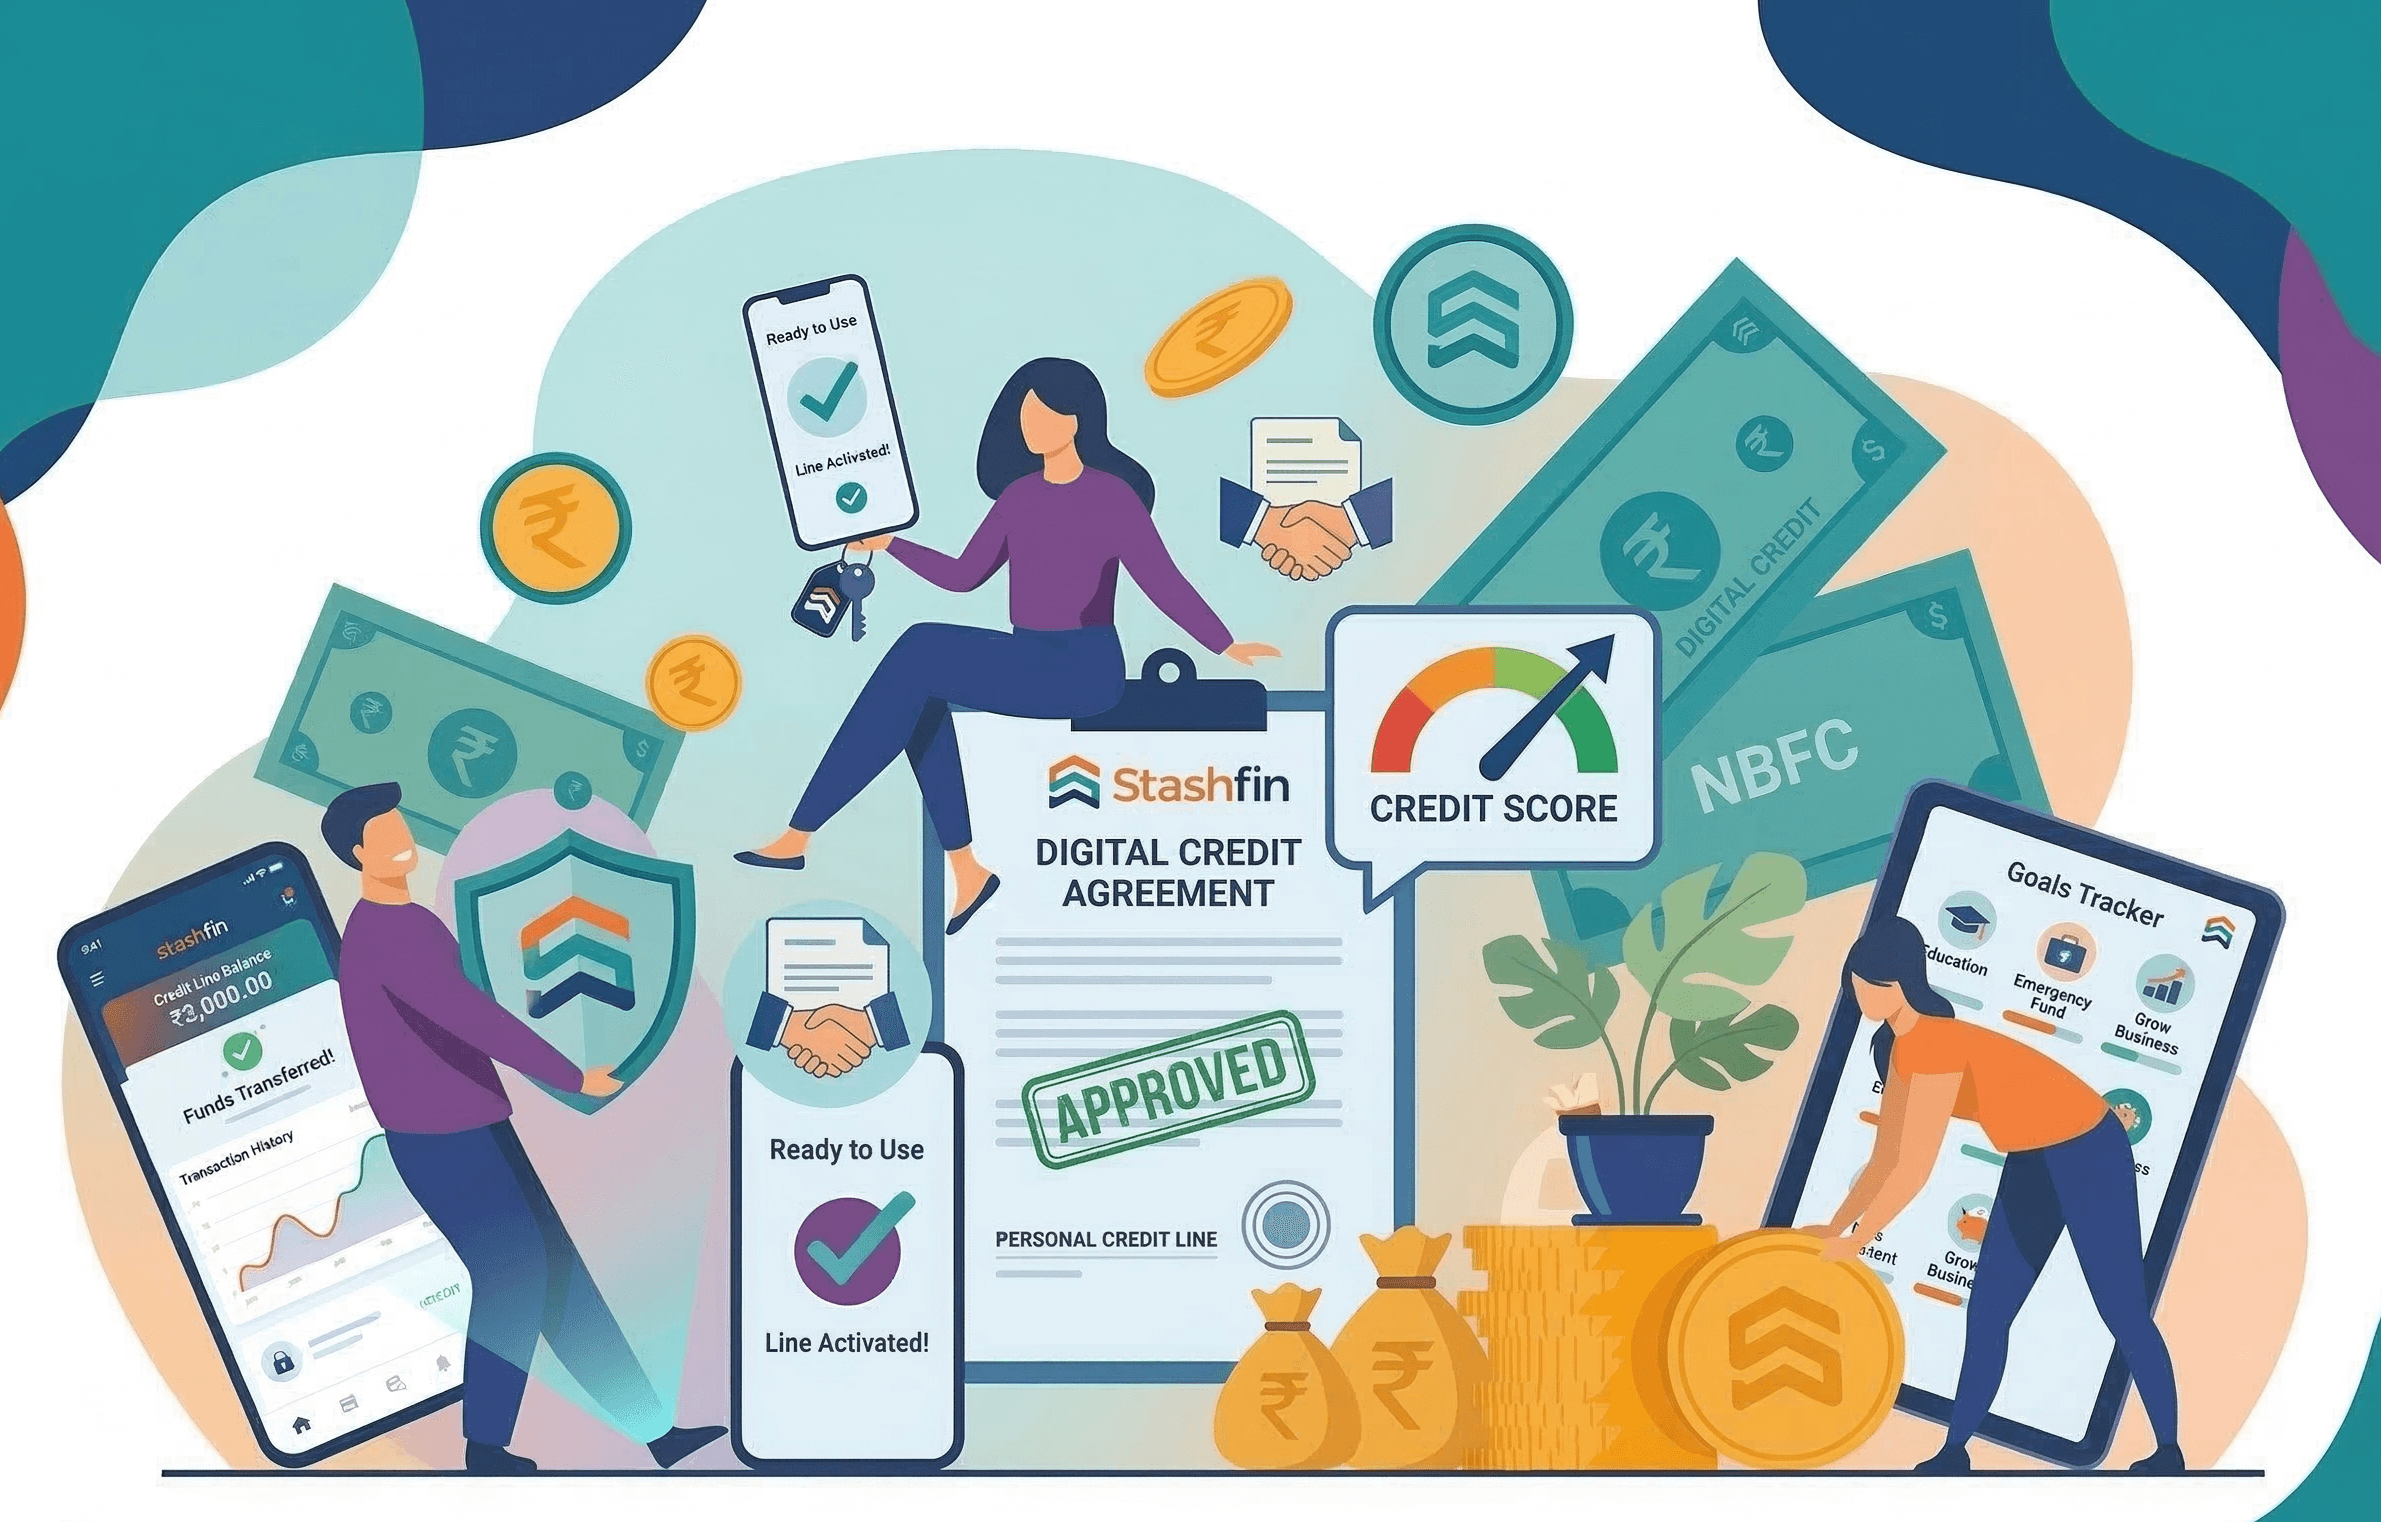
Credit card payment services are subject to applicable terms and conditions. Stashfin is an RBI-registered NBFC. Please read all terms carefully before use.