


Mutual Fund KYC Process: A Complete Checklist
Investing in mutual funds is one of the most accessible ways for individuals to participate in financial markets. However, before placing your very first investment, there is one essential prerequisite that every investor must fulfil — KYC, or Know Your Customer. Regulated by SEBI and administered through AMFI-registered intermediaries, the KYC process ensures that every investor is properly identified and verified before they can begin transacting in mutual funds. Without a completed KYC, your investment applications will not be processed, regardless of which fund house or platform you use.


Understanding what KYC means, what documents you need, and how to complete it — either online or offline — will save you time and help you begin your investment journey without unnecessary delays. This checklist covers everything you need to know.
What Is Mutual Fund KYC and Why Is It Mandatory
KYC stands for Know Your Customer. It is a one-time identity and address verification process that financial institutions are required to conduct before onboarding any investor. In the context of mutual funds, SEBI mandates KYC compliance for all investors. This requirement exists to prevent financial fraud, money laundering, and other illegal activities within the financial system. Once you complete your KYC with any SEBI-registered KYC Registration Agency, it becomes valid across all mutual fund investments in India. You do not need to redo it every time you invest in a new fund or switch platforms.
Types of KYC for Mutual Funds
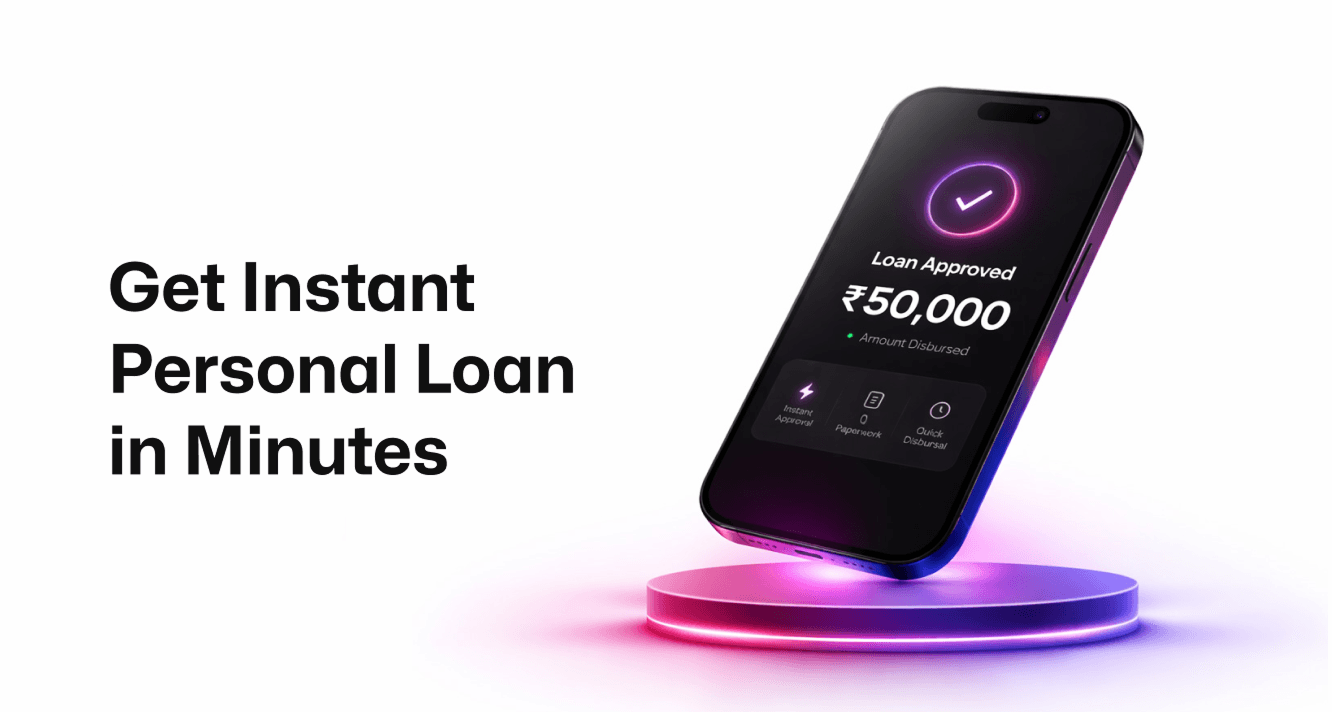
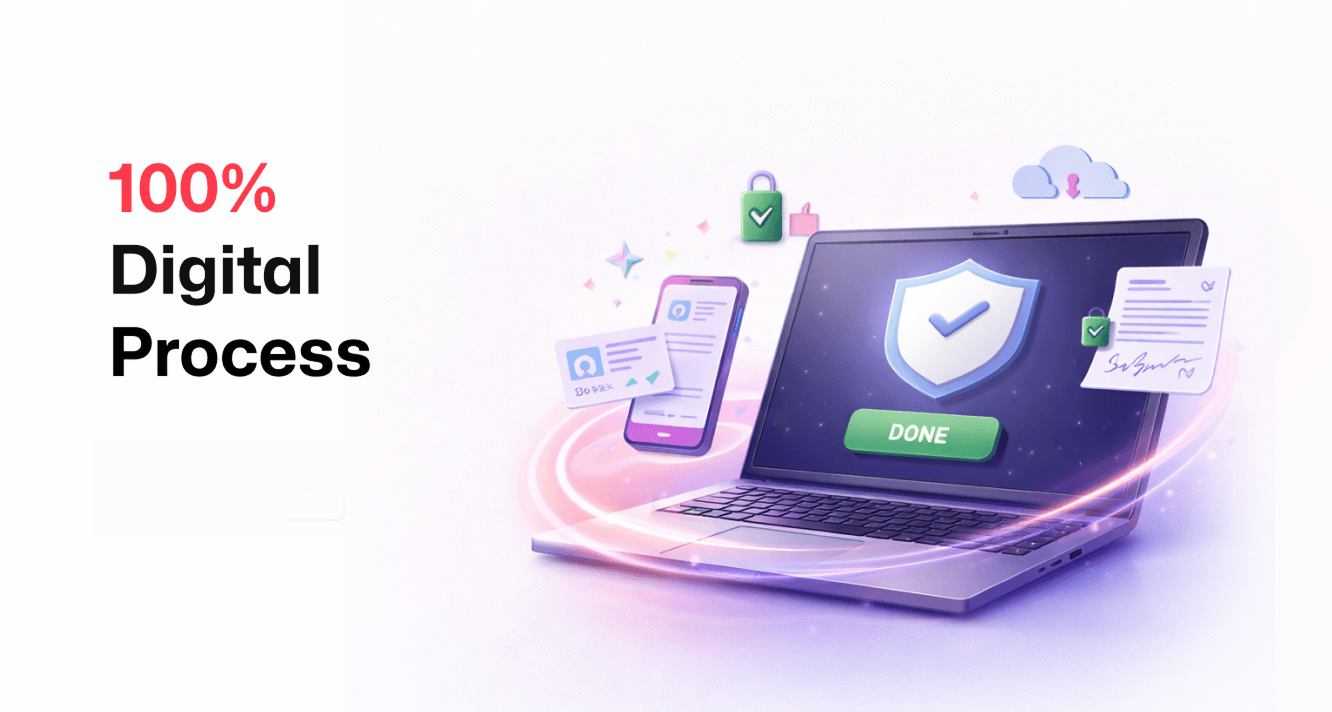
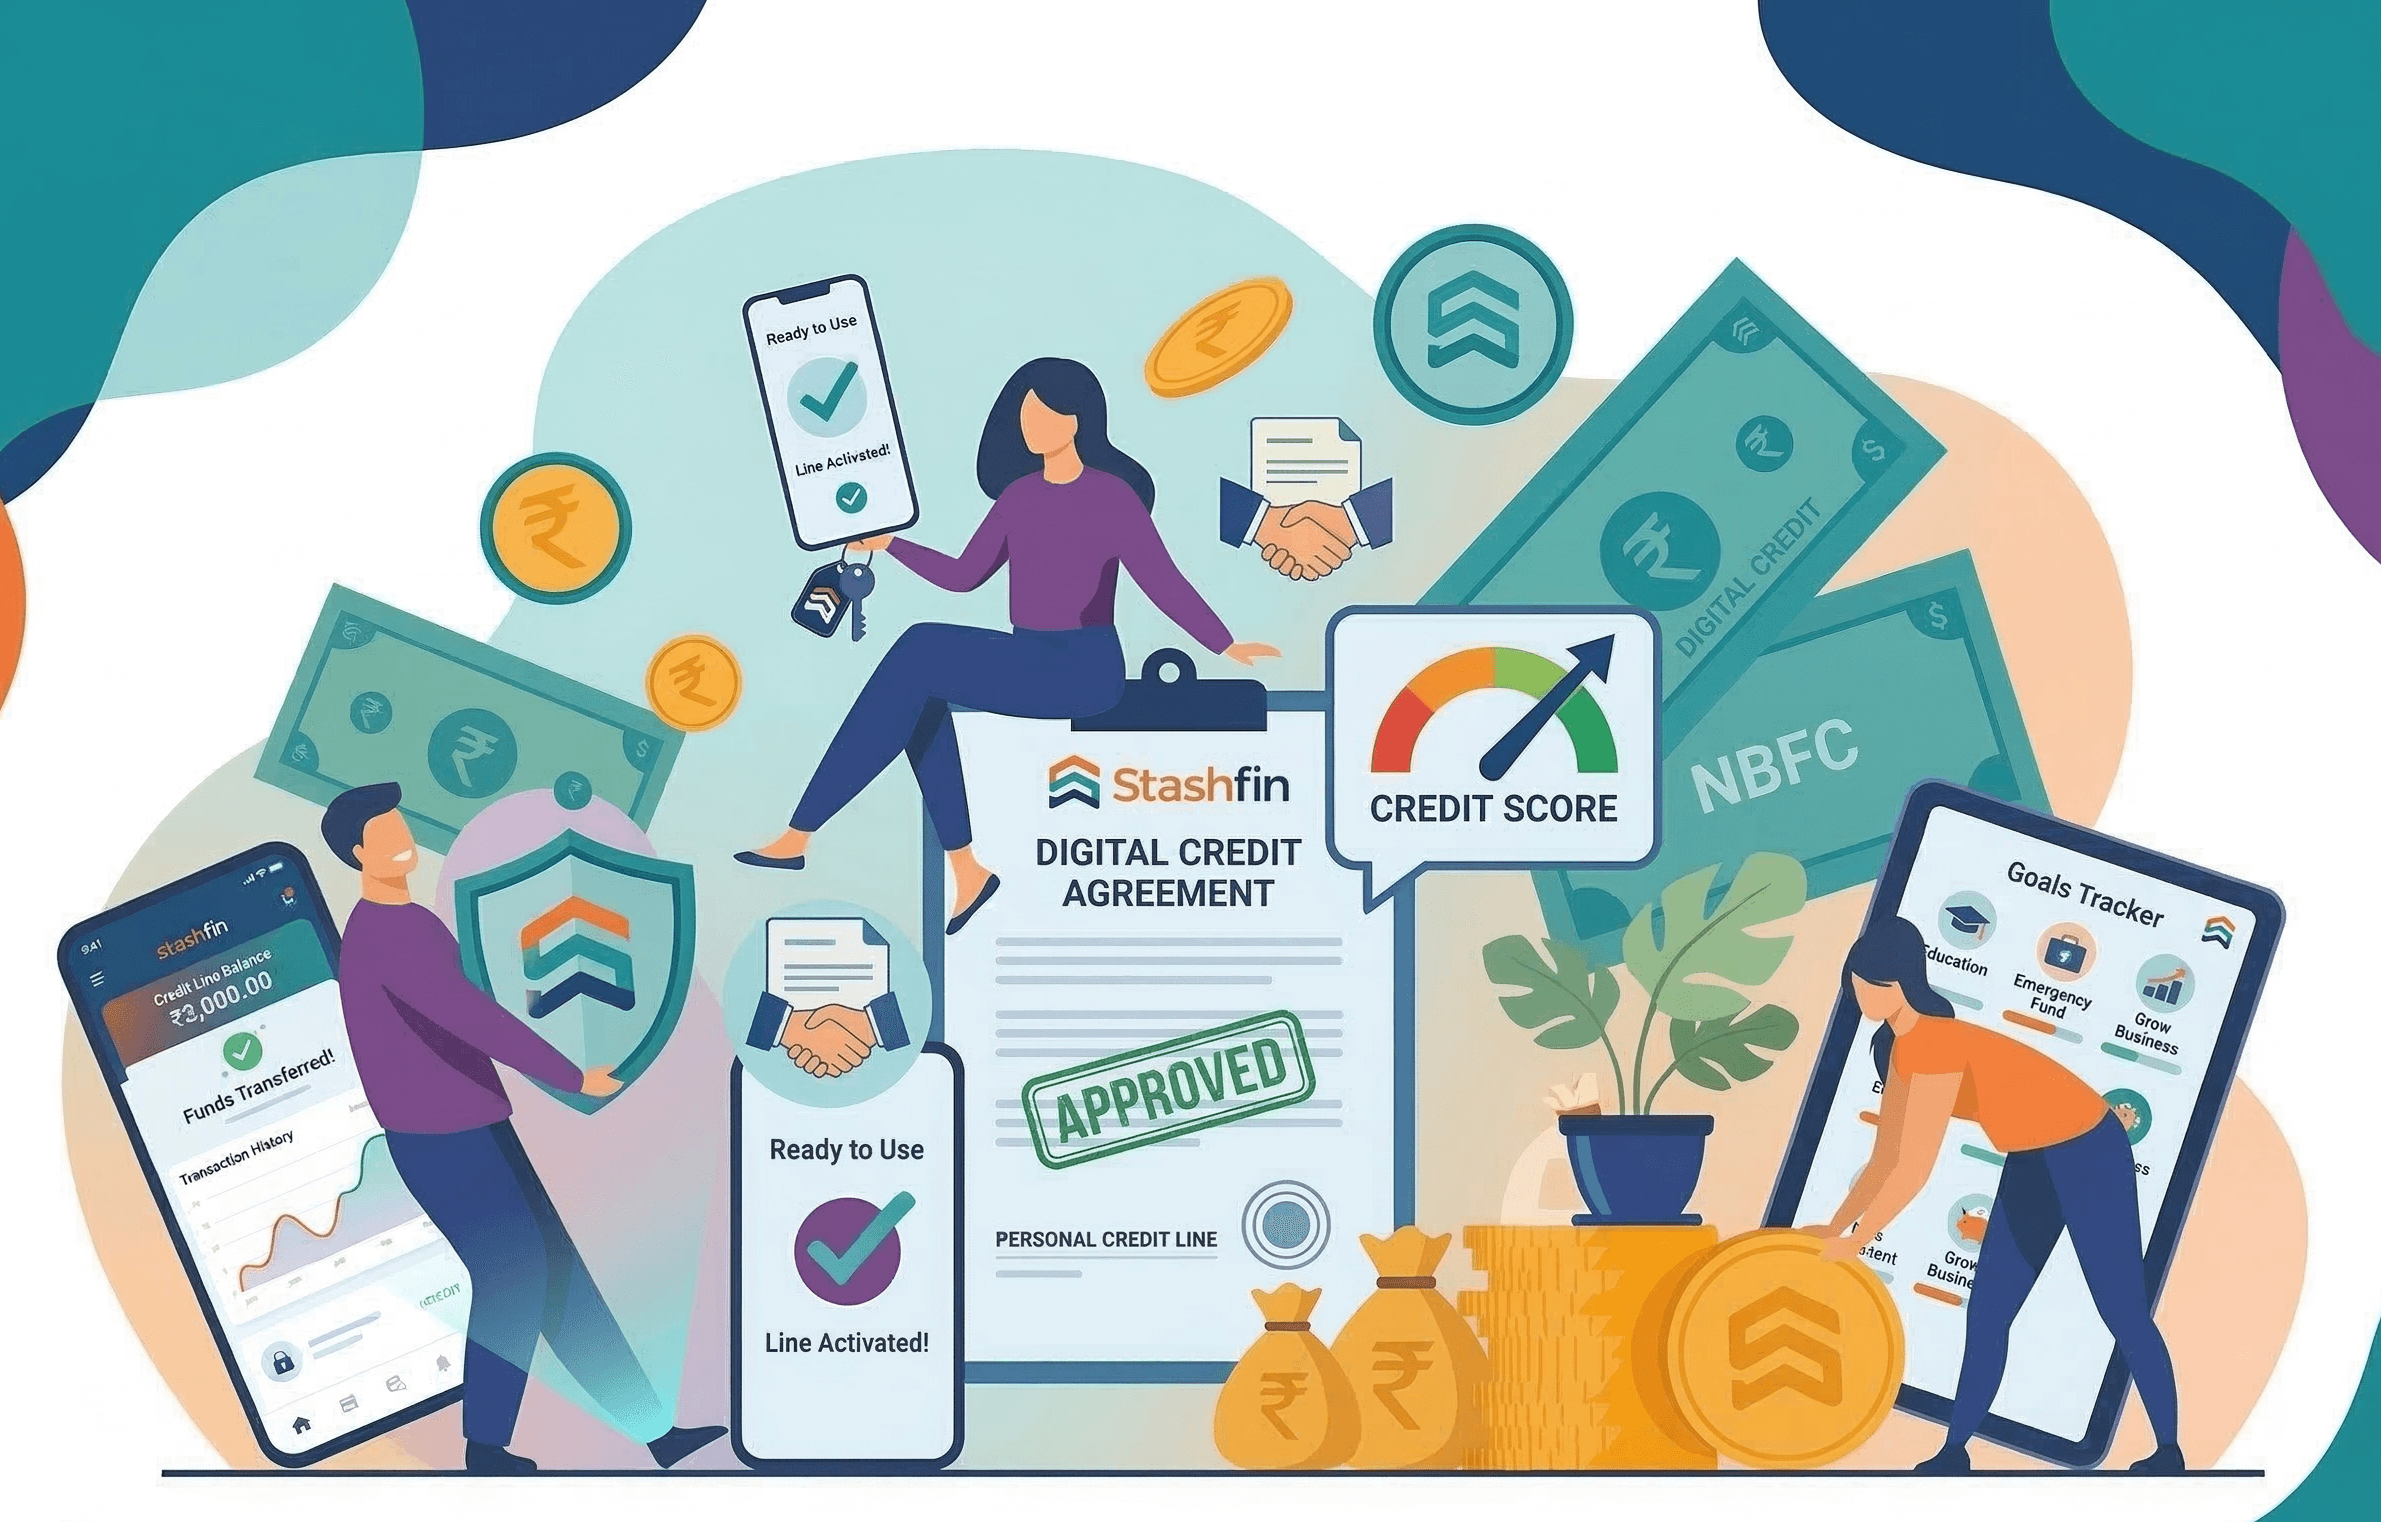
There are two primary ways to complete your mutual fund KYC. The first is the traditional in-person or physical KYC, where you submit self-attested photocopies of your documents at a fund house branch, a Registrar and Transfer Agent office, or a point of service. The second and increasingly popular method is the e-KYC process, which allows you to complete verification entirely online using your Aadhaar number and a one-time password sent to your registered mobile number. The e-KYC process is convenient, fast, and does not require you to visit any physical location. Platforms like Stashfin allow investors to complete the e-KYC process seamlessly within the app itself, making it easy to go from registration to investment in minimal time.
Documents Required for Mutual Fund KYC
Having the right documents ready before you begin will make the process smooth and error-free. Here is a clear checklist of what you will need.
For proof of identity, you can use your PAN card, which is compulsory for all mutual fund investments. In addition to PAN, you may be asked to provide one more government-issued photo identity document such as your Aadhaar card, passport, voter ID, or driving licence.
For proof of address, acceptable documents include your Aadhaar card, passport, voter ID, driving licence, recent utility bills, or a bank account statement. The address on the document should match the address you provide during registration.
You will also need a recent passport-sized photograph. For in-person KYC, a physical copy is typically required. For online or e-KYC, a digital photograph is usually sufficient.
If you are completing the e-KYC process via Aadhaar, your mobile number must be linked to your Aadhaar. The OTP for verification is sent to that registered number, so ensure it is active and accessible.
For investors completing the full KYC through in-person verification, a signed and filled KYC application form is also required. This form is available at fund house offices and on most platforms.
Step-by-Step Guide to Completing Your Mutual Fund KYC
Following a clear sequence of steps will help you avoid common mistakes and get verified quickly.
The first step is to gather all necessary documents as listed above. Ensure your PAN card is valid and that the name on all your documents is consistent. Any mismatch in your name can lead to verification failure.
The second step is to choose your KYC mode. If you prefer completing everything from home, opt for the e-KYC process. If you are more comfortable with physical submissions or do not have an Aadhaar-linked mobile number, opt for in-person verification.
The third step is to visit the platform or app you intend to use for investing. On platforms like Stashfin, the KYC flow is built into the onboarding journey. You will be guided through each screen with clear instructions on what information to enter and which documents to upload.
The fourth step is to enter your PAN details and personal information accurately. This typically includes your full name as it appears on official documents, date of birth, gender, and contact details.
The fifth step is to complete the identity and address verification. In the e-KYC process, this usually involves entering your Aadhaar number and validating it through an OTP. Your photograph may also be captured via a live selfie for in-app verification.
The sixth step is to submit your application and wait for confirmation. KYC verification is usually completed within a short period for e-KYC. Physical KYC may take a few working days. Once approved, you will receive a confirmation and can immediately begin investing.
Common Reasons Why KYC Gets Rejected or Delayed
Understanding what can go wrong will help you avoid unnecessary setbacks. The most common reason for KYC rejection is a mismatch in name or date of birth across documents. Always double-check that your PAN card name matches your Aadhaar and other documents exactly. Poor quality document uploads, blurry selfies, or incomplete application forms are also frequent causes of delay. For e-KYC, a mobile number that is not linked to Aadhaar will prevent OTP delivery and block the process. If you face any such issue, reaching out to the platform's support team is the quickest way to resolve it.
What Happens After KYC Is Approved
Once your mutual fund KYC is approved, you are considered KYC-compliant. This status is stored in a central registry maintained by KYC Registration Agencies recognised by SEBI. This means that whenever you invest through any new platform or fund house in the future, they can verify your status from this central record and you will not need to go through the entire process again. Your KYC compliance is portable and permanent unless there is a significant change in your personal details, such as a change of address, in which case you will need to update your records.
Tips to Keep Your KYC Status Updated
Keeping your KYC information current is important for uninterrupted investing. If you change your residential address, update it at the earliest through your platform or fund house. Similarly, ensure your contact details such as email and mobile number are always current so that you continue to receive important account notifications, transaction confirmations, and regulatory communications. Staying proactive about your KYC status helps you avoid sudden blocks on your investment transactions.
Getting Started With Stashfin
Completing your KYC does not have to be complicated or time-consuming. Stashfin has designed its onboarding experience to make the e-KYC process as simple as possible, guiding you step by step so you can get verified and start investing without friction. Once your KYC is in place, you can explore a wide range of mutual fund options directly on the Stashfin platform and take a meaningful step toward your financial goals.
Mutual fund investments are subject to market risks. Past performance is not an indicator of future returns. Please read all scheme-related documents carefully before investing.